|
If you need to access your drive for any reason, like repairing Windows or recover data then you will need your BitLocker recovery key to continue. To help retrieve previously stored BitLocker recovery keys, this article describes the different storage options for finding your BitLocker recovery key. If your PC is connected to a domain (usually a work or school computer), you can ask a system administrator for your recovery key. If your PC is non-domain-joined PCs, and you did not backup the BitLocker recovery key initially, you could also retrieve the key through the clouds, as long as your PC is signed in with Microsoft account. There are several options in Windows 10 that may save the BitLocker recovery key: 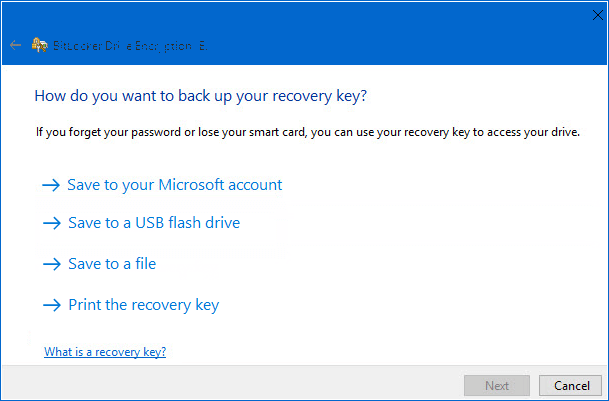 1. Find the BitLocker recovery key in your Microsoft account To retrieve the recovery key that was saved to a Microsoft account, go to visit this site: https://account.microsoft.com/devices/recoverykey, log in with your Microsoft account, then you will see that recovery key. It should look something like this: 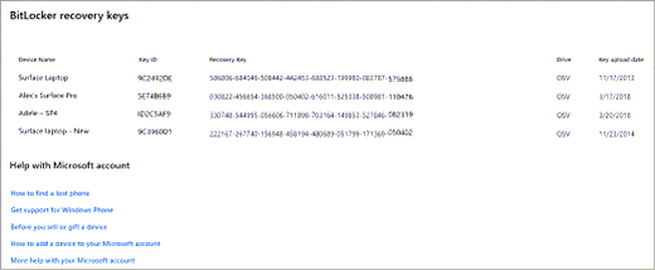 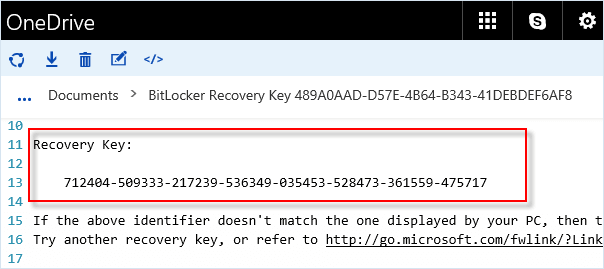 2. Find the BitLocker recovery key on a USB flash drive To find the key that may be saved to a USB flash drive, plug the USB flash drive into the locked PC and follow the instructions. If you save the key as a text file on the flash drive, use a different computer to read the text file.  3. Find the BitLocker recovery key in the file Retrieve keys that may be saved to your computer. If you have not removed or deleted it, you can look for BitLocker Recovery Key.TXT file on your computer. Try not to keep it on the same drive that you will need to access. 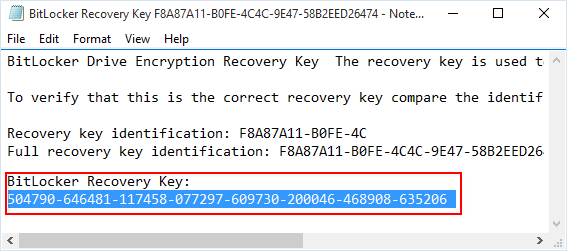 4. Find the BitLocker recovery key in the Paper Document If you want to find a location where you can print or save your BitLocker key, you can find it in a paper document. Additionally, the BitLocker recovery key may have been printed to Microsoft Print to PDF and then searched for PDF files on the PC. 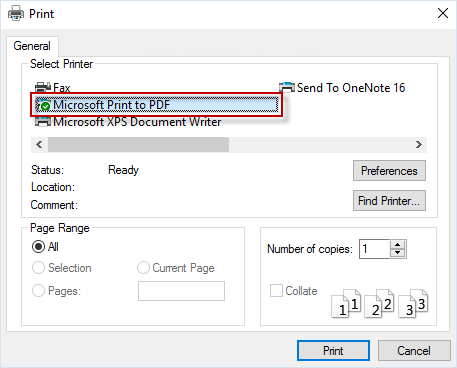
0 Comments
Windows PCs slow down over time. Whether your PC has gradually become slower or it suddenly ground to a halt a few minutes ago, there could be quite a few reasons for that slowness. As with all PC issues, don’t be afraid to give your computer a reboot if something’s not working properly. This can fix quite a few problems and is faster than attempting to manually troubleshoot and fix the problem yourself. Find Resource-Hungry Programs Your PC is running slow because something is using up those resources. If it’s suddenly running slower, a runaway process might be using 99% of your CPU resources, for example. Or, an application might be experiencing a memory leak and using a large amount of memory, causing your PC to swap to disk. Alternately, an application might be using the disk a lot, causing other applications to slow down when they need to load data from or save it to the disk. To find out, open the Task Manager. You can right-click your taskbar and select the “Task Manager” option or press Ctrl+Shift+Escape to open it. On Windows 8, 8.1, 10, and 11, the new Task Manager provides an upgraded interface that color-codes applications using a lot of resources. Click the “CPU,” “Memory,” and “Disk” headers to sort the list by the applications using the most resources. If any application is using too many resources, you might want to close it normally — if you can’t, select it here and click “End Task” to force it to close. 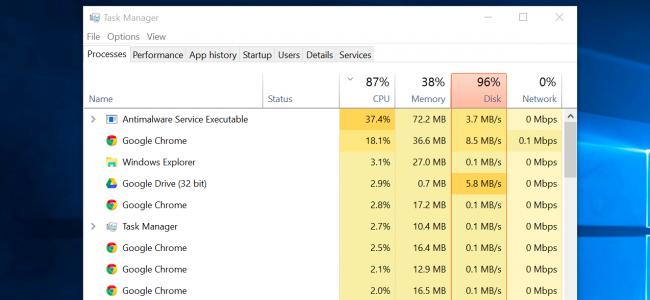 Close System Tray Programs Many applications tend to run in the system tray, or notification area. These applications often launch at startup and stay running in the background but remain hidden behind the up arrow icon at the bottom-right corner of your screen. Click the up arrow icon near the system tray, right-click any applications you don’t need running in the background, and close them to free up resources. 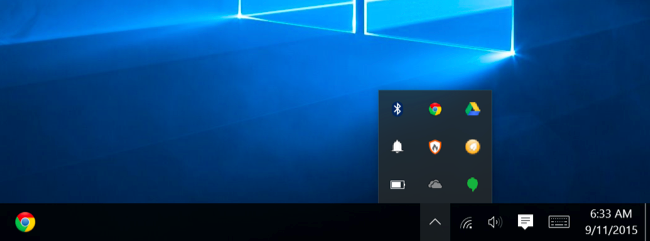 Disable Startup Programs Better yet, prevent those applications from launching at startup to save memory and CPU cycles, as well as speed up the login process. On Windows 8, 8.1,10, and 11 there’s now a startup manager in the Task Manager you can use to manage your startup programs. Right-click the taskbar and select “Task Manager” or press Ctrl+Shift+Escape to launch it. Click over to the Startup tab and disable startup applications you don’t need. Windows will helpfully tell you which applications slow down your startup process the most. 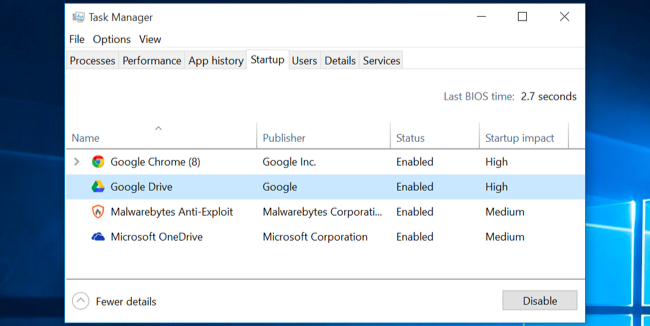 Reduce Animations Windows uses quite a few animations, and those animations can make your PC seem a bit slower. For example, Windows can minimize and maximize windows instantly if you disable the associated animations. To disable animations, press Windows Key + X or right-click the Start button and select “System.” Click “Advanced System Settings” on the left and click the “Settings” button under Performance. Choose “Adjust for best performance” under Visual Effects to disable all the animations, or select “Custom” and disable the individual animations you don’t want to see. For example, uncheck “Animate windows when minimizing and maximizing” to disable the minimize and maximize animations. 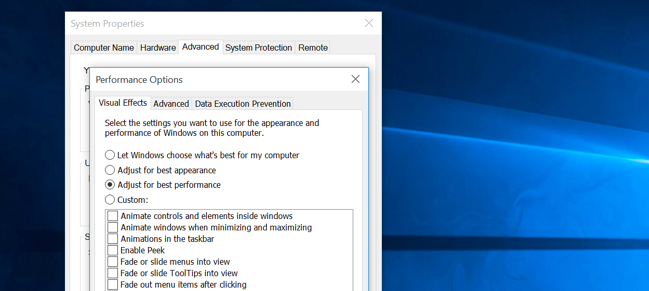 Lighten Your Web Browser There’s a good chance you use your web browser a lot, so your web browser may just be a bit slow. It’s a good idea to use as few browser extensions, or add-ons, as possible those slow down your web browser and cause it to use more memory. Go into your web browser’s Extensions or Add-ons manager and remove add-ons you don’t need. You should also consider enabling click-to-play plug-ins. Preventing Flash and other content from loading will prevent unimportant Flash content from using CPU time. 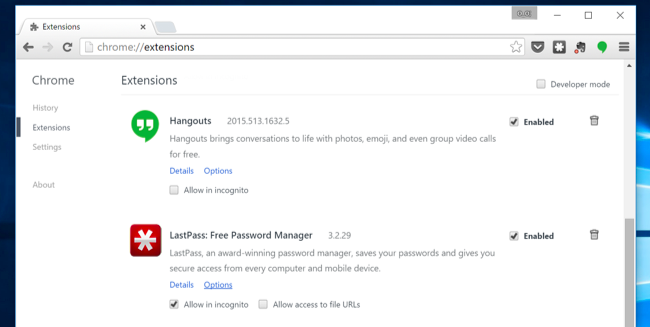 Scan for Malware and Adware There’s also a chance your computer is slow because malicious software is slowing it down and running in the background. This may not be flat-out malware — it may be software that interferes with your web browsing to track it and add additional advertisements, for example. To be extra safe, scan your computer with an antivirus program. You should also scan it with Malwarebytes, which catches a lot of “potentially unwanted programs” (PUPs) that most antivirus programs tend to ignore. These programs try to sneak onto your computer when you install other software, and you almost certainly don’t want them. 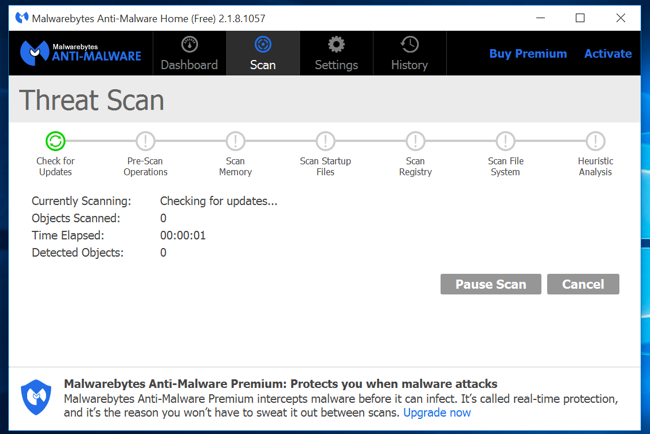 Free Up Disk Space If your hard drive is almost completely full, your computer may run noticeably slower. You want to leave your computer some room to work on your hard drive. Follow our guide to freeing up space on your Windows PC to free up room. You don’t need any third-party software — just running the Disk Cleanup tool included in Windows can help quite a bit. 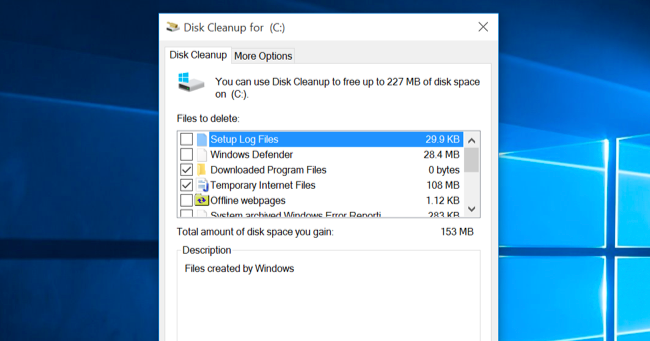 Defragment Your Hard Disk Defragmenting your hard disk actually shouldn’t be necessary on modern versions of Windows. It’ll automatically defragment mechanical hard drives in the background. Solid-state drives don’t really need traditional defragmentation, although modern versions of Windows will “optimize” them and that’s fine. You shouldn’t worry about defragmentation most of the time. However, if you do have a mechanical hard drive and you’ve just put a lot of files on the drive for example, copying a huge database or gigabytes of PC game files those files might be defragmented because Windows hasn’t gotten around to defragmenting them yet. In this situation, you might want to open the disk defragmenter tool and perform a scan to see if you need to run a manual defrag program. 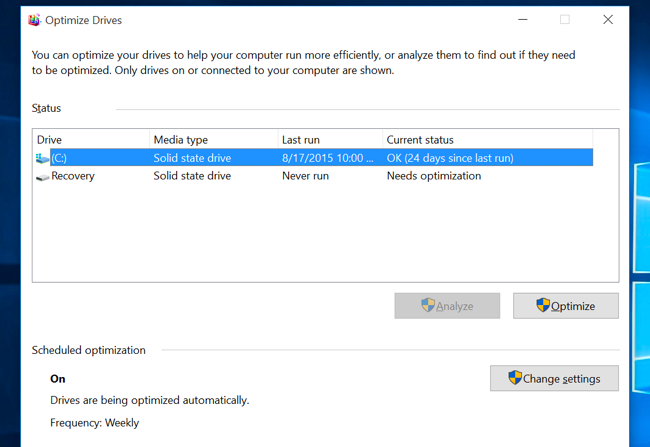 Uninstall Programs You Don’t Use Open the Control Panel, find the list of installed programs, and uninstall programs you don’t use and don’t need from your PC. This can help speed your PC up, as those programs might include background processes, autostart entries, system services, context menu entries, and other things that can slow down your PC. It’ll also save room on your hard drive and improve system security for example, you definitely shouldn’t have Java installed if you’re not using it. 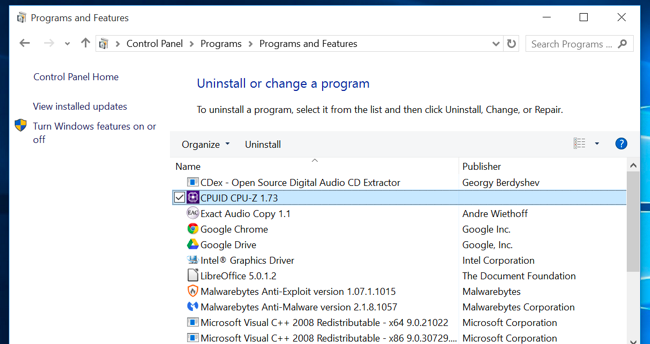 Reset Your PC / Reinstall Windows If the other tips here didn’t fix your problem, the one timeless solution to fix Windows problems — aside from rebooting your PC, of course — is getting a fresh Windows installation. On modern versions of Windows — that is, Windows 8, 8.1, 10, and 11 it’s easier to get a fresh Windows installation than ever. You don’t have to get Windows installation media and reinstall Windows. Instead, you can simply use the “Reset your PC” feature built into Windows to get a new, fresh Windows system. This is similar to reinstalling Windows and will wipe your installed programs and system settings while keeping your files. 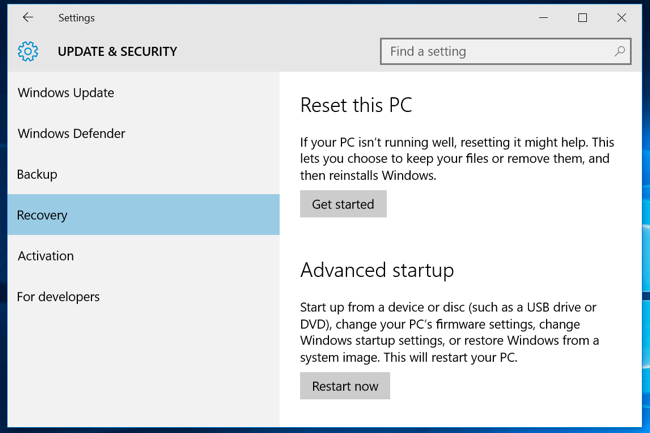 If your PC is still using a mechanical hard drive, upgrading to a solid-state drive or just ensuring your next PC has an SSD will offer you a dramatic performance improvement, too. In an age where most people won’t notice faster CPUs and graphics processors, solid-state storage will offer the single biggest boost in overall system performance for most people. Thanks to How To Geek
Connecting to an unsecure network? What security risks does a public Wi-Fi connection pose? Here's what you should know.  Public Wi-Fi, whether in a public library, coffee shop, train station, or a retail outlet, makes it easy to access the internet anywhere. You can use it to send emails, access your bank accounts, or browse news articles. But should you? Though convenient and desirable for consumers, public Wi-Fi poses security and privacy risks. For instance, free Wi-Fi hotspots don’t need authentication to establish a network connection; this makes it easy for hackers to gain access to unprotected devices on the network. So what are the greatest risks you take when you connect to public Wi-Fi networks? 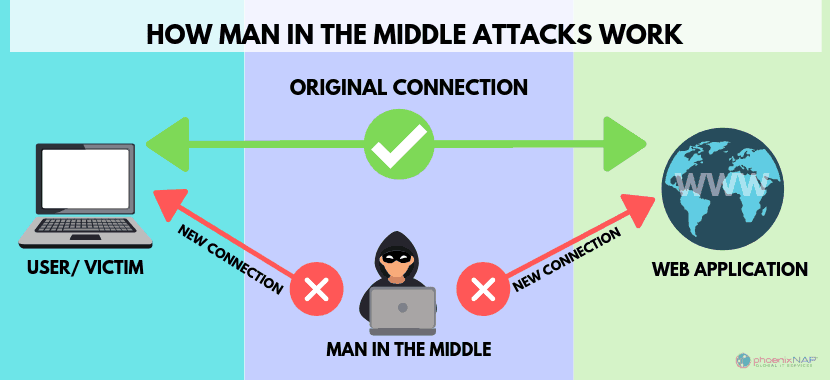 1. Man-in-the-Middle Attacks When you access the internet via Wi-Fi, your device establishes a link with the router or server connecting you to the internet. A Man-in-the-Middle (MitM) attack occurs when a hacker positions themselves between you and the connection point. So instead of communicating directly with the intended parties, you’re sending your data to the attacker, who then relays it on. Cybercriminals often use special software to view and manipulate the traffic coming in and out of your device. This means they can steal login details, change payment details, or learn where an order is to be delivered. Attackers can also steal your credit card information and commit financial fraud. They can make purchases, withdraw money, and even apply for loans in your name. 2. Malware Infections  Hackers can infect an unsecured Wi-Fi connection with malware, which then infects the devices that connect to it. Some attackers can hack the connection point itself and send you fake pop-ups requesting you to update a popular software. Clicking it installs the malware. Once the malware infects your device, the hacker can steal sensitive information, delete files, and make your device inoperable. The worst part is that you might not even notice your device has been infected with malware. 3. Snooping and Sniffing 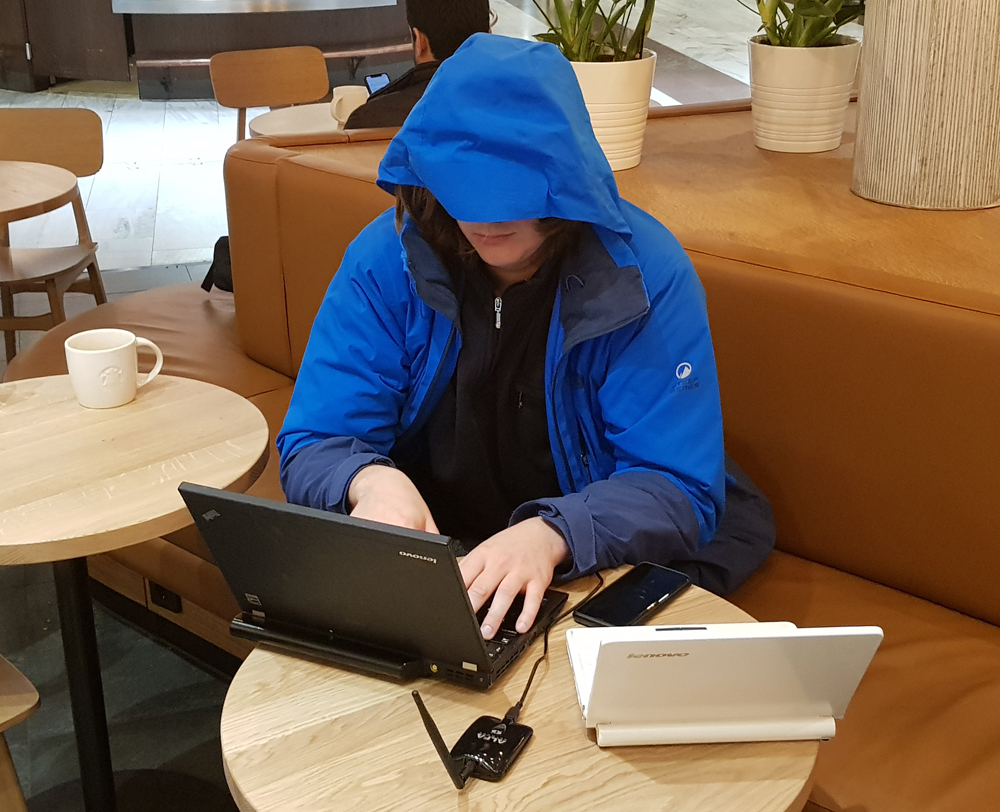 Hackers can eavesdrop on unsecured public Wi-Fi networks. Using special software, an attacker on the network can see what you’re doing on your device while using public Wi-Fi. Sometimes, the hacker will just read your browsing history. If you’re unlucky, the attacker may steal your login details to steal sensitive information resulting in a data breach. Bad actors may also use special software to capture data packets flowing between networked computers. This allows the attackers to capture the information sent across the network, including details like passwords and IP addresses. 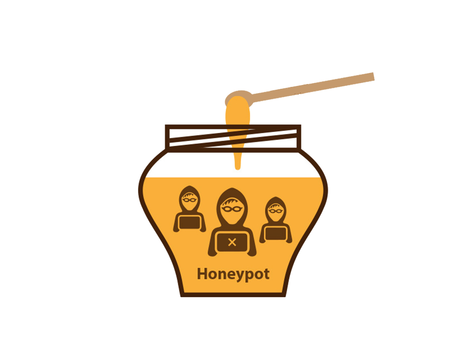 4. Evil Twin Attacks The “evil twin” or honeypot attack is a type of attack where a cybercriminal sets up a malicious Wi-Fi hotspot, often intending to steal users’ data. Many people will select a Wi-Fi hotspot if its name sounds appropriate, and almost anyone can set up malicious hotspots that seem legitimate. These hotspots are meant to trick you into connecting to them. Cybercriminals can set up a rogue hotspot and record unencrypted information passing through it. To create the fake access point, attackers usually set up their own “free Wi-Fi hotspots” with the name of a nearby business, like a coffee shop or restaurant. Once you connect your device to the malicious hotspot, the hacker can monitor and steal your personal information, including logins and banking information. The attackers can also perform variations of the MitM attacks, such as DNS-based attacks, forcing you to visit their favorite unencrypted websites. 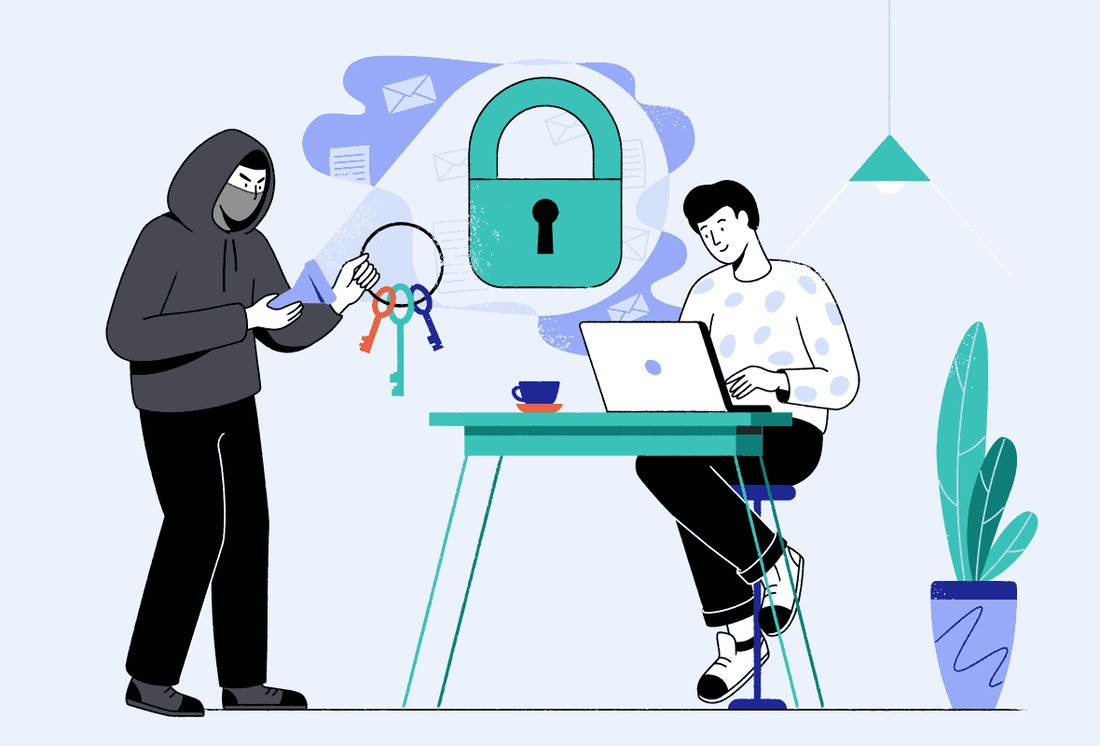 Bottom line: The dos and don'ts of using public Wi-Fi
Do connect to secured public networks whenever possible. In the event that you’re unable to connect to a secured network, using an unsecured network would be permissible if the connection requires some sort of login or registration. Your cellphone hotspot is the best secure connection. Don't access personal bank accounts, or sensitive personal data, on unsecured public networks. Even secured networks can be risky. Use your best judgment if you must access these accounts on public Wi-Fi. Don't leave your laptop, tablet, or smartphone unattended in a public place. Even if you’re working on a secure Wi-Fi network, that won’t stop someone from taking your property or sneaking a peek at your device. Don't shop online when using public Wi-Fi. Sure, shopping doesn’t seem like it involves sensitive data, but making purchases online requires personal information that could include bank account and retailer login credentials. Shopping isn’t something you want to do on an unsecured Wi-Fi network. Do turn off automatic connectivity. Most smartphones, laptops, and tablets have automatic connectivity settings, which allow you to seamlessly connect from one hotspot to the next. This is a convenient feature, but it can also connect your devices to networks you ordinarily would not use. Keep these settings turned off, especially when you’re traveling to unfamiliar places. Do monitor your Bluetooth connectivity. Bluetooth in the home is an amazing feature on many smart devices. However, leaving Bluetooth on while in public places can pose a huge risk to your cybersecurity. Bluetooth connectivity allows various devices to communicate with each other, and a hacker can look for open Bluetooth signals to gain access to your devices. Keep this function on your phone and other devices locked down when you leave your home, office, or similar secured area. Do think about using a virtual private network (VPN) solution to ensure your privacy and anonymity are protected when you use public Wi-Fi. VPN services, like the new Norton Secure VPN, can encrypt all the data that you send and receive while using a public Wi-Fi hotspot, securing your information from other users of the same connection. Ransomware is a pretty serious issue: one hack can either cost you a lot of money or your data—both if you’re unlucky. It’s important to guard against this threat, and we have seen some VPNs claim they can help. But can a VPN really protect you from ransomware?  VPN Ransomware Protection The answer is quite simply no, a VPN cannot help you with ransomware attacks, prevent them or solve them. Anybody claiming that they can is trying to sell you something. Untrustworthy VPN providers are guilty of marketing their products as cure-alls for every problem on the internet, and “ransomware” is just another keyword to them. Even a VPN isn’t a cure-all for internet privacy. You also need to change your browsing habits. The reason why a VPN can’t block ransomware is because they’re very different things. In real-world terms, it’s a little like be like replacing your car’s tires to fix a chip in the windshield. It’s not directly related. To understand a little better how this works—or rather, not—we need to take a closer look at both ransomware and VPNs. 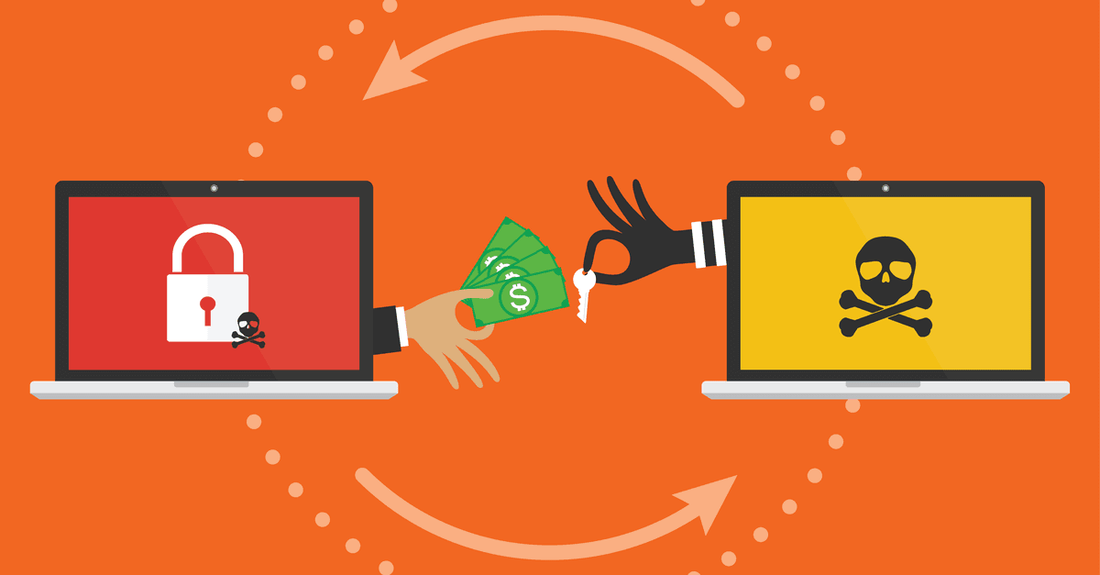 How Ransomware Works The way most ransomware works is that it somehow infects your system, usually through a file you download or even a targeted attack. Once on your system, it spreads throughout and encrypts parts of your hard drive, or even all of it. To unlock and decrypt your data, you need to pay money, a ransom, to the attackers; hence “ransomware.” As you can imagine, ransomware is a nasty thing to fall victim to, and what makes it worse is that there’s no guarantee you’ll actually get your files after paying the ransom. Often enough, attackers will simply make off with the money without giving up the key to the encrypted files. It’s no surprise then, that anti-ransomware software has become a booming business. 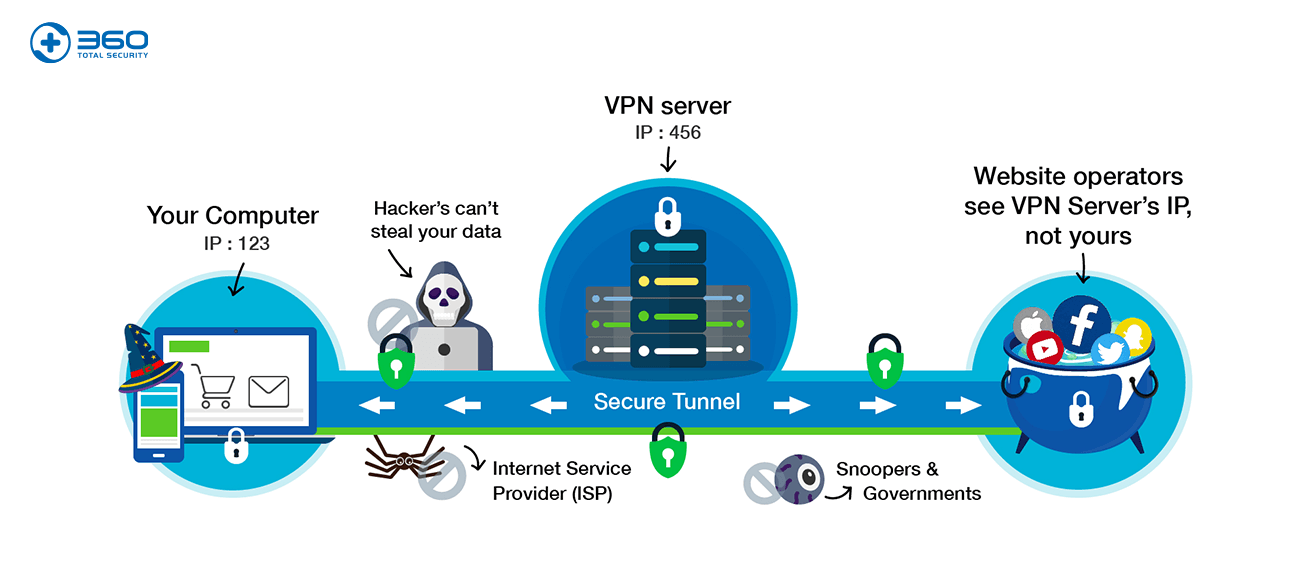 How VPNs Work Obviously, when business is booming, people will want a piece of it, and in a way it’s logical to think that VPNs could be a way to protect yourself against ransomware. After all, they can protect you online and many providers promise security of some kind or another. Thing is, though, that VPNs only affect how you appear on the web. When you use a virtual private network, you reroute your connection through a server owned and operated by your VPN provider. This makes you appear like you’re somewhere else than your actual location, which is great if you’re trying to circumvent regional restrictions. It does nothing, however, to deter ransomware. A changed location doesn’t mean you’re suddenly undetectable to criminals, especially if you’re the one that downloaded the malicious program in the first place. However, rerouting your connection isn’t the only thing that VPNs do, they also encrypt your connection in a so-called VPN tunnel. This is great if you want to avoid being spied on by your internet service provider, your government, copyright watchdogs, or anybody else that wants to monitor your connection. Again, though, this does not apply to ransomware: the software is already on your system, and the VPN software can do nothing against it being there. Neither is it able to prevent you from downloading it or protecting you from hackers breaking into your system. 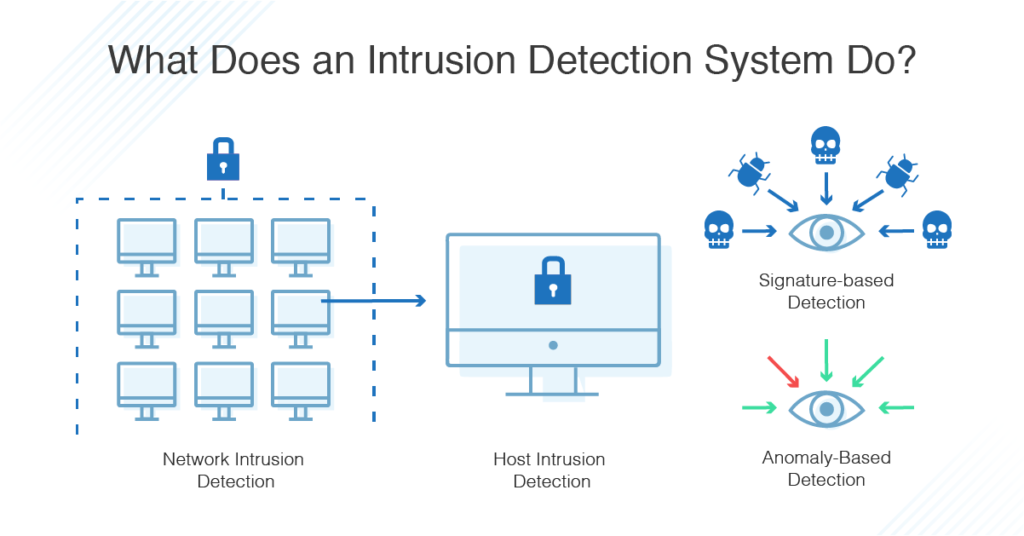 Threat Detection Systems
That said, some VPNs bundle added security software with their description, which may help in fighting ransomware. Good examples are ProtonVPN’s NetShield and ExpressVPN’s threat manager. These act much like similar systems offered by many of the best antivirus software in that they block access to suspicious sites, including those which are known to infect you with ransomware. In these cases, a VPN may be of help in fighting ransomware, but only because of these extra modules; the core technology is still pretty powerless. You’re better off with the protection offered by your antivirus program, which also extends to scanning your computer for dangerous ransomware before it runs—something a VPN can’t do. VPNs and Ransomware VPNs aren’t a defensive armor you can put on and be protected from all of the internet’s ills, no matter how much VPN providers would like to convince you otherwise. They’re a protective measure you can take to prevent being tracked, as well as a tool that can get past blocks. There are plenty of valid ways to prepare for a ransomware attack, but getting a VPN subscription isn’t one of them. If you encounter a provider that claims otherwise—or even hints that they can—you may want to steer clear of them and their dodgy claims. There are plenty of VPNs that try and gain customers without claiming magical powers, stick with them; our selection of the best VPNs is a good place to start. |
|
2951 Britannia crescent
Port Coquitlam BC, V3B 4V5 778-776-6222 Hours of operation Mon - Fri 9 a.m. - 6 p.m. Sat 11 a.m. - 5 p.m. (by appointment only) Sunday & Holidays - Closed |
Business Number 778569517BC0001 - © Copyright CompuBC, All Rights Reserved.
|